
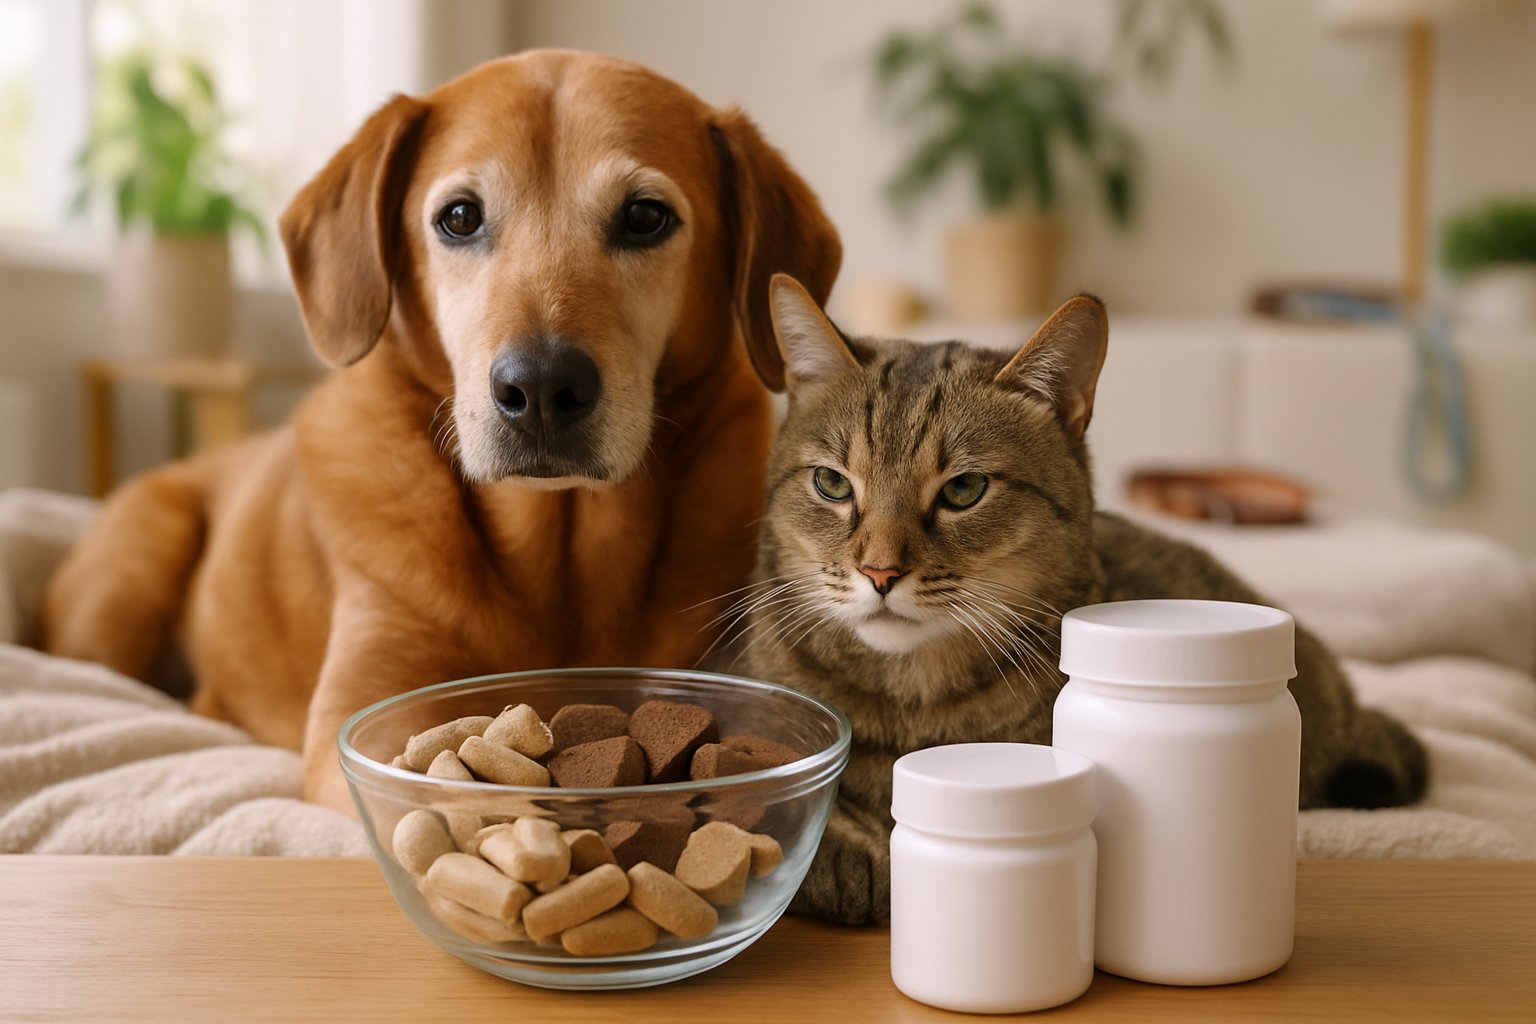
Your cat’s food bowl might look clean, but it could be harboring dangerous bacteria that threaten both you and your feline friend. Cat bowls should be washed with soap and water after every meal, with metal bowls requiring extra attention since they harbor more bacteria than plastic ones. Research shows that pet food bowls can have some of the highest bacterial counts of any household item you use daily.
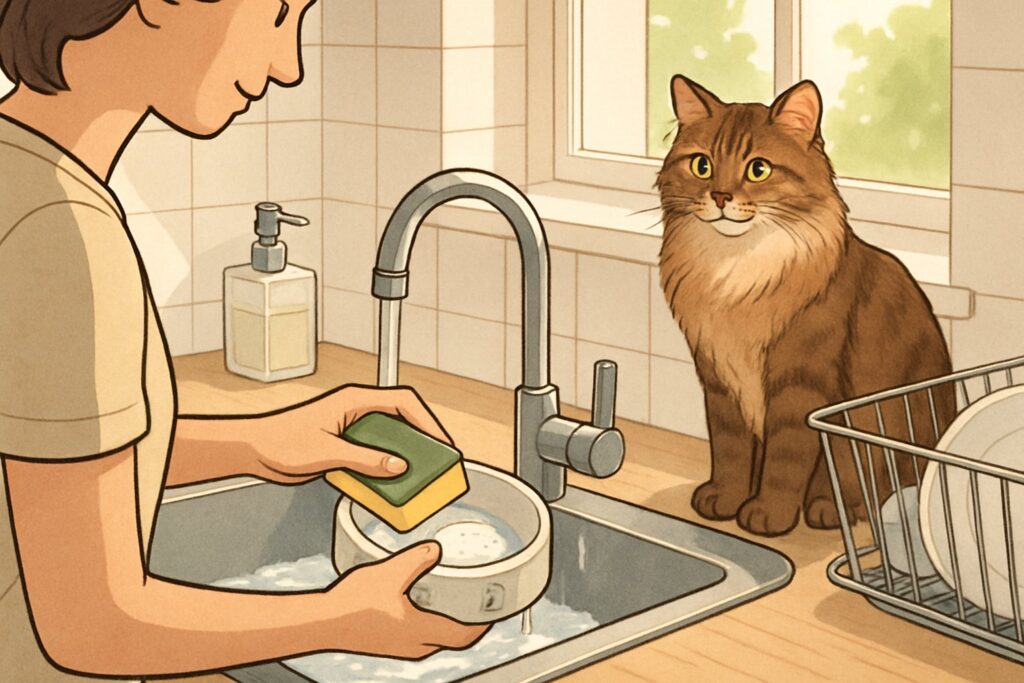
Table of Contents
I’ve seen too many cat parents assume a quick rinse or even just refilling the same bowl is enough. The truth is, every time your cat eats, bacteria multiply rapidly in that bowl. Food particles, saliva, and moisture create the perfect breeding ground for harmful microorganisms that can make your cat sick and contaminate your kitchen.
You’re about to discover exactly how often to clean your cat’s bowls, which materials are safest, and the cleaning mistakes that could be putting your family at risk. Let’s dive into the simple steps that will keep your cat healthy and your home safe from dangerous cross-contamination.
Cleaning Your Cat’s Bowl – Key Takeaways
- Clean your cat’s food bowl with soap and water after every meal to prevent dangerous bacterial growth
- Metal bowls harbor more bacteria than plastic bowls and require more thorough cleaning methods
- Using a dishwasher is more effective than hand washing for eliminating harmful microorganisms from pet bowls
Why a Clean Cat Bowl Matters
Your cat’s food bowl might harbor dangerous bacteria that could make both of you sick, while dirty bowls can also cause behavioral problems like food refusal or stress.
Health Risks Lurking in Dirty Bowls
I’ve seen too many cat parents overlook their pet’s bowl hygiene. But let me tell you – that innocent-looking food dish can become a breeding ground for harmful bacteria.
Salmonella and E. coli love to party in dirty cat bowls. These nasty bugs don’t just threaten your feline friend’s health.
They can spread to you and your family too. Research shows that pet food bowls rank among the most contaminated household items, with bacterial counts that would make your stomach turn.
Wet food creates an especially risky environment. Moisture combined with leftover food particles creates the perfect storm for bacterial growth.
Here’s what can happen:
- Digestive upset and diarrhea in cats
- Food poisoning in humans who handle contaminated bowls
- Cross-contamination to kitchen surfaces and utensils
I always tell cat parents: your pet’s bowl needs the same attention as your own dishes. Would you eat from a plate that hadn’t been washed in days?
The Hidden Dangers of Biofilm and Bacteria
That slimy film coating your cat’s bowl isn’t just gross – it’s a biofilm packed with bacteria that’s incredibly hard to remove.
Biofilms form when bacteria stick to surfaces and create protective barriers. Think of them as bacterial cities with their own defense systems.
Once established, these films resist regular cleaning attempts. Even a quick rinse won’t budge them.
Different bowl materials affect contamination levels:
- Metal bowls show higher bacterial counts than plastic
- Scratched surfaces harbor more bacteria in tiny grooves
- Porous materials absorb food particles and odors
The longer food sits in a bowl, the stronger these biofilms become. Studies reveal that hand washing is less effective than dishwasher cleaning for removing dangerous bacteria like Enterobacteriaceae.
My advice? Use smooth, non-porous bowls and wash them thoroughly after each meal. Your cat’s immune system will thank you.
How Clean Bowls Improve Cat Behavior
Clean cat bowls don’t just prevent illness – they actually encourage better eating habits and reduce stress in your feline friend.
Cats have incredible noses. They can smell bacterial growth and rancid food residue that we can’t even detect.
When I see cats suddenly refusing food or eating reluctantly, dirty bowls are often the culprit. Clean cat bowls eliminate these off-putting odors that make meals unappetizing.
Behavioral benefits of clean bowls include:
- Increased appetite and enthusiasm for meals
- Reduced food anxiety and stress
- Better hydration (especially important for water bowls)
- Less territorial behavior around feeding areas
Some cats become so sensitive to dirty bowls that they’ll stop eating altogether. This leads to serious health issues like fatty liver disease.
Pro tip: Wash your cat’s bowl with hot, soapy water after every meal. Rinse thoroughly to remove soap residue, which cats find just as offensive as dirty bowls.
I’ve watched countless cats transform from picky eaters to enthusiastic diners simply by maintaining clean cat bowls. The difference is remarkable.
Choosing the Right Cat Bowl Materials
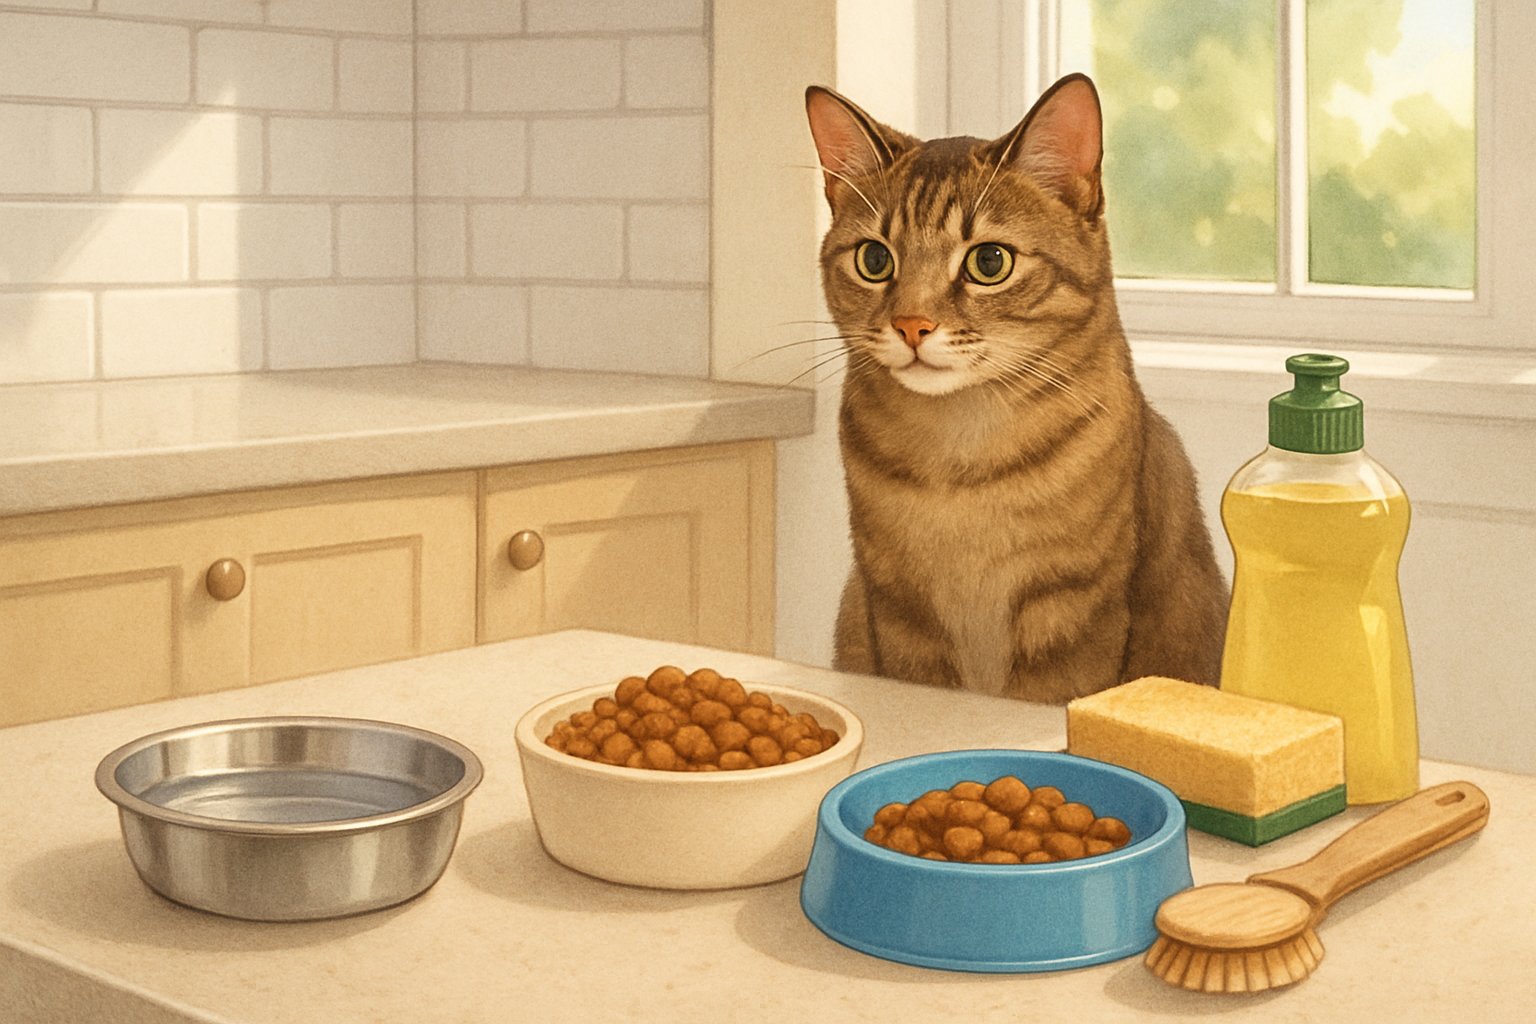
The material you pick for your cat’s bowl affects both hygiene and your pet’s health. Research shows that plastic pet dishes contained the most bacteria, while ceramic and stainless steel options stay cleaner longer.
Pros and Cons of Stainless Steel, Ceramic, and Plastic
Stainless Steel: My Top Pick
I always recommend stainless steel bowls to cat owners. They’re nearly impossible for bacteria to stick to.
These bowls don’t scratch easily. That means fewer hiding spots for germs.
You can toss them in the dishwasher without worry. The heat won’t warp or damage them like it does to plastic.
The downside? Some cats don’t like the metallic taste. A few picky eaters might turn their noses up at first.
Ceramic: Pretty but Fragile
Ceramic bowls look great in your kitchen. They’re heavy enough that most cats can’t push them around while eating.
These clean cat bowls stay cool, which some cats prefer for their water. The smooth surface wipes clean easily.
Watch out for cracks, though. Once ceramic chips or cracks, bacteria love those tiny spaces. You’ll need to replace cracked bowls right away.
Plastic: Cheap but Risky
Plastic costs less upfront. It’s lightweight and comes in fun colors.
But here’s the problem – plastic scratches every time you wash it. Those scratches become bacteria highways that proper cleaning and disinfection of the dish can’t always reach.
Many cats develop chin acne from plastic bowls. The material can also absorb odors over time.
Signs It’s Time to Replace Your Cat’s Bowl
Look for These Red Flags:
- Visible scratches or cracks – Even tiny ones harbor bacteria
- Stubborn odors that won’t wash out
- Discoloration that cleaning can’t remove
- Rough or pitted surfaces you can feel with your finger
When Your Cat Stops Eating
Sometimes cats refuse food because their bowl smells off to them. Their noses are way more sensitive than ours.
If your usually hungry cat suddenly seems picky, check their bowl. Old plastic especially holds onto smells that turn cats away.
Replace plastic bowls every 6-12 months. Stainless steel and ceramic last years if you care for them properly.
Pro tip: Buy two identical bowls. While one’s in the dishwasher, your cat still has their familiar bowl to use.
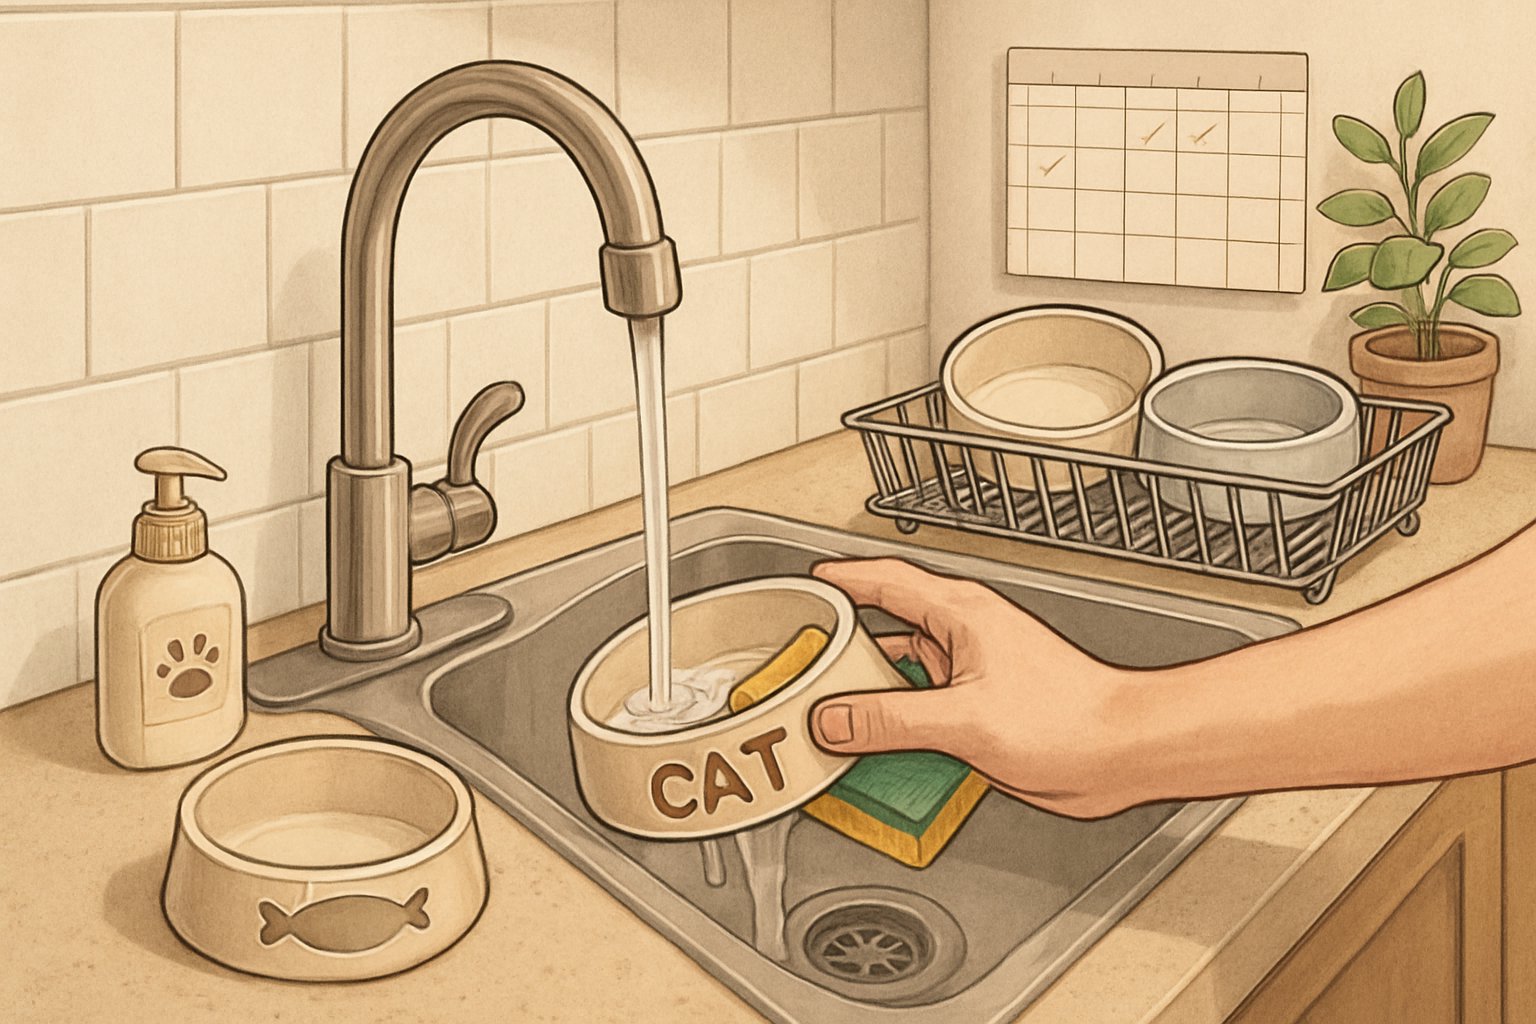
Safe and Effective Cleaning Methods
I’ve learned that using the right cleaning products makes all the difference between a truly clean bowl and one that just looks clean. The three most reliable methods I recommend involve pet-safe dish soap for daily cleaning, vinegar solutions for natural disinfection, and carefully diluted bleach when you need serious germ-fighting power.
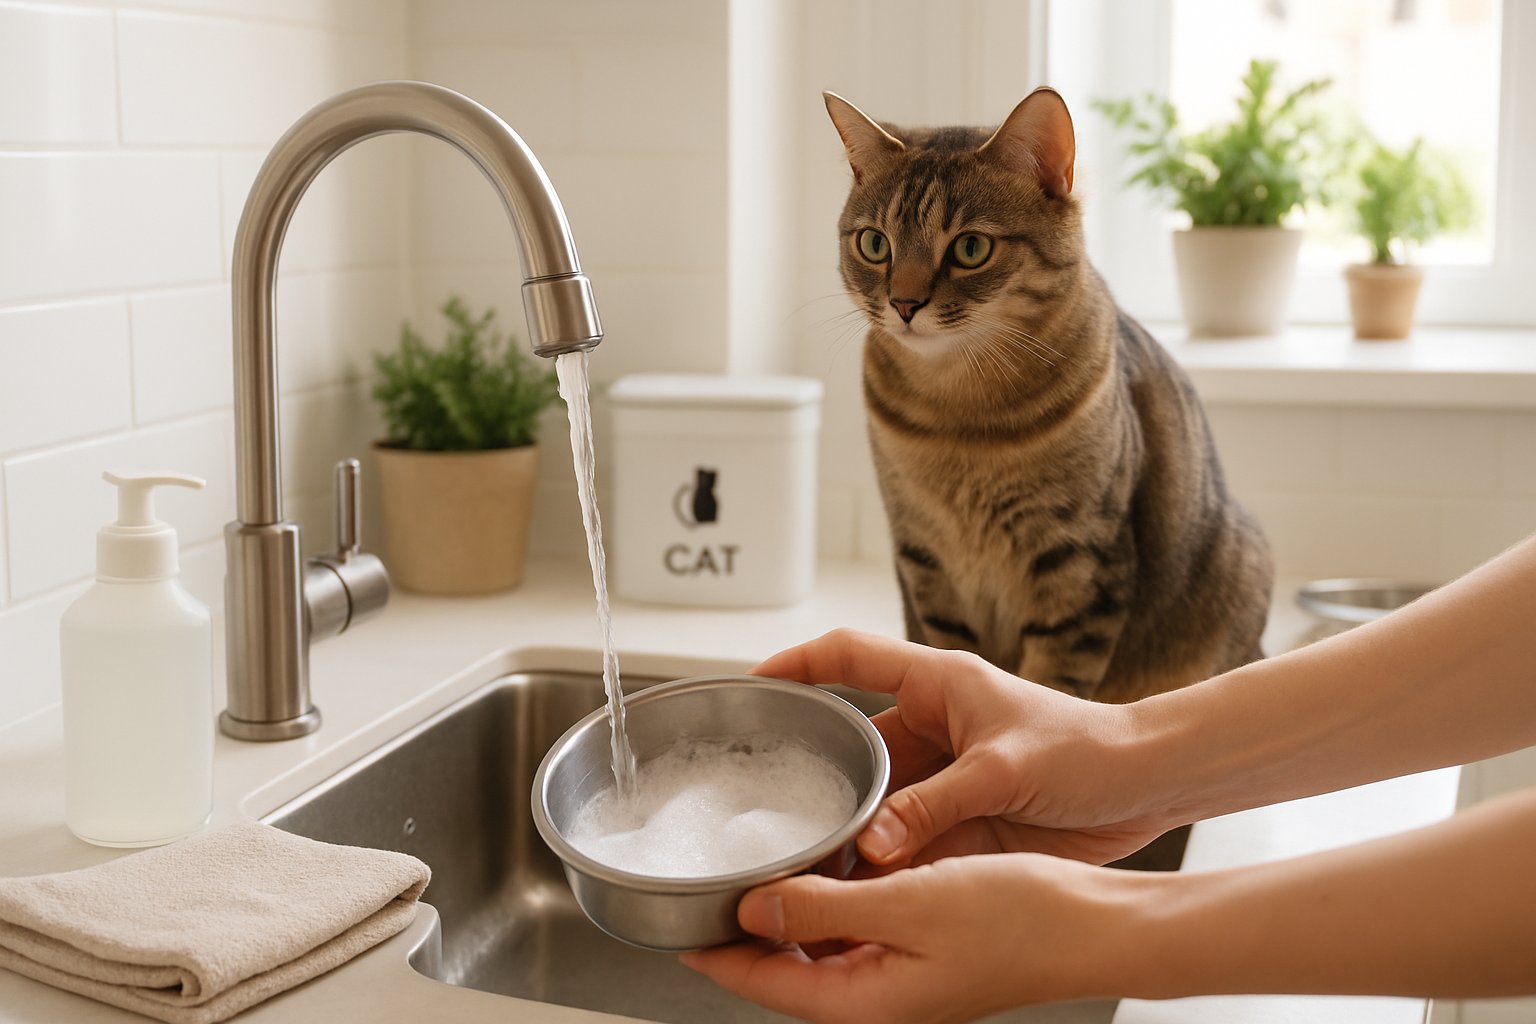
Using Pet-Safe Dish Soap the Right Way
Let me be real – I used to grab whatever dish soap was handy until my vet explained why that’s risky. Regular dish soap can leave residues that irritate your cat’s sensitive mouth and stomach.
Dawn Free & Clear is my go-to choice. It’s fragrance-free and gentle enough for everyday use.
I wash my cat’s bowl with this simple method:
- Fill the sink with warm water
- Add just 2-3 drops of pet-safe soap
- Scrub with a dedicated sponge (never the one you use for human dishes)
- Rinse thoroughly until water runs clear
Research shows that hand washing with soap can leave more bacteria than dishwasher cleaning. That’s why I always do a final rinse with hot water.
The key is thorough rinsing. I learned this the hard way when my cat refused to eat from a bowl that still had soap residue.
When to Choose a Vinegar Solution
I turn to white vinegar when I want natural cleaning power without harsh chemicals. It’s especially useful if you’ve noticed a film buildup on plastic bowls or want to tackle water spots on metal ones.
My vinegar cleaning recipe is simple: 1 part white vinegar to 3 parts water. Never use full-strength vinegar – it’s too acidic for food bowls.
This solution works great for:
- Removing mineral deposits from water bowls
- Breaking down greasy residue from wet food
- Sanitizing without chemical residue
I soak the bowl for 10-15 minutes, then scrub gently and rinse well. The vinegar smell disappears completely after rinsing, but it’s strong enough to kill most bacteria and mold.
One warning: never mix vinegar with other cleaners. It can create dangerous chemical reactions.
How and When to Safely Use a Bleach Solution
I only reach for bleach when dealing with serious contamination – like when my cat was sick or if I find mold growth. It’s the strongest option, so I use it sparingly.
The safe ratio is 1 tablespoon of bleach to 1 gallon of water. I always use regular household bleach, never scented or concentrated versions.
My bleach cleaning process:
- Wash the bowl first with soap and water
- Soak in bleach solution for 2 minutes maximum
- Rinse thoroughly with clean water
- Air dry completely
Never soak longer than 2 minutes. Bleach can damage bowl materials and leave harmful residues if overused.
I wear gloves and work in a ventilated area. The fumes can irritate both you and your cat if you’re not careful.
After bleach cleaning, I do a final soap wash to remove any lingering chemical taste. Your cat’s sensitive nose will detect bleach residue even when you can’t smell it.
How Often and How Deep to Clean
I’ve learned that cleaning your cat’s bowl properly means following both daily maintenance routines and deeper weekly cleanings. The key is understanding when a quick rinse works versus when you need to break out stronger cleaning solutions for stubborn buildup.
Daily and Weekly Cleaning Routines
Let me tell you what works best from my experience with cat bowl cleaning. I rinse my cat’s bowl with warm water after every meal, especially if I’m feeding wet food.
Daily cleaning steps:
- Rinse with warm water immediately after meals
- Wipe dry with a clean towel
- Check for any food residue stuck to the sides
For my weekly deep clean, I use a vinegar solution that works wonders. Research shows that cat caregivers clean bowls with varying frequencies, with some cleaning after each meal and others once daily.
Weekly cleaning routine:
- Wash with warm soapy water
- Soak in a vinegar solution (1 part vinegar to 3 parts water)
- Scrub gently with a soft brush
- Rinse thoroughly and air dry
I never skip the weekly cleaning because bacteria builds up fast. Studies reveal that pet food bowls rank among household items with highest bacterial contamination.
Deep Cleaning for Stubborn Odors and Stains
Sometimes regular cleaning isn’t enough. I’ve dealt with those stubborn fish smell remnants that seem impossible to remove from my cat’s favorite bowl.
Deep cleaning with vinegar solution:
- Fill the bowl with equal parts white vinegar and warm water
- Let it soak for 30 minutes
- Scrub with baking soda paste for extra power
- Rinse until the vinegar smell disappears completely
The science backs this up. Research shows that mechanical washing with hot water effectively decontaminates pet food bowls from harmful microorganisms.
For plastic bowls that hold odors, I replace them every six months. Metal bowls last longer but need more frequent deep cleaning since studies show metal bowls harbor more bacteria than plastic ones.
Stain removal tips:
- Use hydrogen peroxide for protein stains
- Try lemon juice for mineral deposits
- Avoid bleach – it’s toxic to cats
I always smell-test the bowl after cleaning. If any cleaning product odor lingers, I rinse again until it’s completely gone.
Avoiding Common Mistakes and Adopting Pro Tips
Making simple changes to how you separate dishes and choose cleaning tools will keep your cat healthier and make bowl cleaning much easier.
Proper Separation of Cat and Human Dishes
I learned this lesson the hard way when my cat got sick from cross-contamination. You should never wash your cat’s bowls with your dinner plates or use the same sponge.
Why separation matters:
- Bacteria transfers between pet and human dishes
- Cat saliva contains different germs than human mouths
- Food residue can cause allergic reactions
I always wash my cat’s bowls in a separate sink when possible. If you only have one sink, clean your cat bowls first, then sanitize the area before washing human dishes.
My separation system:
- Different colored sponges (blue for cats, yellow for humans)
- Separate dish soap if your budget allows
- Clean cat bowls on a different counter space
The proper bowl selection includes wide bowls that don’t touch whiskers. I store clean cat bowls separately from human dishes in a dedicated cabinet space.
The Right Tools: Sponges, Brushes, and More
I used regular dish sponges for years before realizing specialized tools make cleaning cat bowls way more effective. The wrong tools leave behind bacteria and food particles.
Essential cleaning tools:
- Bottle brushes – Perfect for deep, narrow water bowls
- Scrub brushes with stiff bristles – Remove stuck wet food
- Microfiber cloths – Won’t scratch stainless steel bowls
- Dedicated sponges – Only for pet dishes
I replace my cat bowl sponges every two weeks. Regular kitchen sponges harbor more bacteria than you’d expect.
Pro cleaning technique:
Rinse first, then scrub with hot soapy water. I use a bottle brush for water bowls because my fingers can’t reach the bottom properly.
For stubborn food residue, I soak the bowl for 10 minutes before scrubbing. This prevents you from scrubbing too hard and scratching the bowl surface.
Tools to avoid:
- Steel wool (scratches surfaces)
- Harsh chemical cleaners
- Shared kitchen towels
Clean cat bowls daily with the right tools, and you’ll prevent most health issues before they start.
Long-Term Cat Bowl Hygiene Habits
Creating lasting bowl hygiene habits means setting up a feeding space that works for both you and your cat, then knowing when your current routine needs an upgrade. I’ve learned that consistency in location and timing makes all the difference in maintaining clean feeding habits.
Building a Cat-Friendly Feeding Area
Let’s be real — where you place your cat’s bowls affects how clean they stay. I always recommend choosing a quiet spot away from high-traffic areas and litter boxes.
Location matters more than you think. Cats avoid eating near their bathroom area, just like we would. Keep food and water bowls at least three feet from any litter box.
I’ve found that separate food bowls work better in multi-cat homes. This prevents food guarding and reduces the mess when multiple cats eat together.
Essential setup tips:
- Use shallow, wide bowls to prevent whisker stress
- Place bowls on easy-to-clean surfaces like tile or washable mats
- Keep water bowls away from food to encourage drinking
- Maintain the same feeding spot daily for routine
The feeding area should be easy for you to access too. If cleaning the bowls feels like a chore, you’re less likely to do it consistently.
Recognizing When to Level Up Your Routine
You know that moment when you realize your current system isn’t working? I see these warning signs all the time with cat owners.
Red flags your routine needs work:
- Your cat suddenly stops eating from their usual bowl
- Food residue builds up despite regular washing
- Water bowls develop that slimy film within a day
- Multiple cats are fighting over food access
If you’re washing bowls less than daily, it’s time to step up. Cats prefer clean dishes every day, and dirty bowls can lead to eating problems.
When to completely overhaul your system:
- Moving to a new home
- Adding another cat to your household
- Noticing your cat drinking less water
- Discovering cleaning products lingering on bowls
I always tell cat parents to trust their instincts. If something feels off about your cat’s eating habits, check the cleanliness of their feeding area first.
Frequently Asked Questions
Cat owners often wonder about proper bowl cleaning frequency, safe washing methods, and effective cleaning products. These questions focus on practical solutions for maintaining hygienic feeding dishes while keeping your feline friend healthy.
How often should you really be scrubbing out your kitty’s food dish?
I clean my cat’s food bowl after every meal. It’s the gold standard for preventing bacterial buildup.
Research shows that cat caregivers have varying cleaning habits, with only 21.5% cleaning after each meal. Many wait longer, which isn’t ideal.
Wet food bowls need immediate attention. Moisture creates a breeding ground for bacteria within hours.
Dry food bowls can go longer, but I still recommend daily cleaning. Food oils and saliva accumulate quickly.
If you free-feed your cat, wash the bowl at least once daily. Leaving food out doesn’t mean leaving germs out.
Got a sec? Let’s talk about whether you can hand-wash your feline’s bowls with the rest of your plates and silverware.
I keep my cat’s bowls separate from my dishes. Cross-contamination is a real concern in shared washing spaces.
Studies reveal that hand washing shows higher bacterial contamination compared to dishwasher cleaning. Pet bowls carry different germs than human dishes.
My approach: Wash cat bowls first, then sanitize the sink before doing human dishes. Or wash them completely separately.
The sponge you use matters too. I designate a specific sponge just for pet bowls.
Your dishwasher actually works better than hand washing for killing bacteria. The high heat does the heavy lifting.
If you’ve noticed that your cat’s water dish gets slimy, how regularly do you need to tackle that?
That slimy feeling is biofilm – a bacterial layer that forms in standing water. I change my cat’s water daily and wash the bowl every 2-3 days minimum.
Plastic bowls develop biofilm faster than other materials. The scratches harbor bacteria that create that gross slippery coating.
I’ve found that stainless steel or ceramic bowls stay cleaner longer. They’re less porous and easier to sanitize completely.
Water placement matters too. Keep bowls away from food and litter areas to reduce contamination.
If your cat barely drinks, dirty water might be the culprit. Fresh, clean water encourages better hydration habits.
Can ordinary dish soap keep your cat’s bowls clean, or is it a no-go?
Regular dish soap works perfectly for cat bowls. I use the same Dawn I wash my dishes with.
The key is thorough rinsing. Soap residue can upset your cat’s stomach or make them avoid the bowl entirely.
I scrub with warm soapy water, then rinse until the bowl squeaks clean. No soap smell should remain.
Antibacterial soaps aren’t necessary for daily cleaning. Plain dish soap removes food particles and cuts through grease effectively.
Avoid harsh chemicals like bleach for routine cleaning. Save those for deep sanitizing sessions only.
You’ve heard about cleaning with vinegar for dog bowls, but what about for your cat’s dishes? Let’s dive in.
White vinegar is safe and effective for cat bowls. I use a 50/50 water-vinegar solution for weekly deep cleans.
Vinegar cuts through mineral deposits and neutralizes odors naturally. It’s especially useful for hard water buildup.
The process: Soak the bowl for 10-15 minutes, scrub gently, then rinse thoroughly. The vinegar smell disappears completely when rinsed properly.
Some cats dislike vinegar’s scent initially. I make sure to rinse extra well and let bowls air dry.
Never mix vinegar with other cleaning products. Use it alone or stick to plain dish soap.
Who’s got a trick up their sleeve for making cat bowl cleaning a breeze and pet-safe at the same time?
My favorite hack: the two-bowl system. While one bowl is being used, the other is drying after cleaning.
I keep cleaning supplies in a designated pet area. Quick access means I actually clean regularly instead of putting it off.
Stainless steel bowls are my go-to choice. They’re dishwasher safe, don’t retain odors, and last forever.
For stubborn buildup, I make a paste with baking soda and water. It scrubs away residue without harsh chemicals.
Pro tip: Clean bowls immediately after feeding. Dried food is ten times harder to remove than fresh spills.
I set phone reminders for water bowl changes. Consistency beats perfection when building healthy habits.


Leave a Reply
You must be logged in to post a comment.