
Making homemade cat treats has become my go-to way to spoil my feline friends. I love knowing exactly what goes into their snacks.
You can whip up delicious, healthy homemade cat treats with just a few simple ingredients like chicken, tuna, or pumpkin. They’re nutritious and, honestly, pretty irresistible to cats.
I’ve realized that making homemade pet food gives me total control over quality and ingredients.
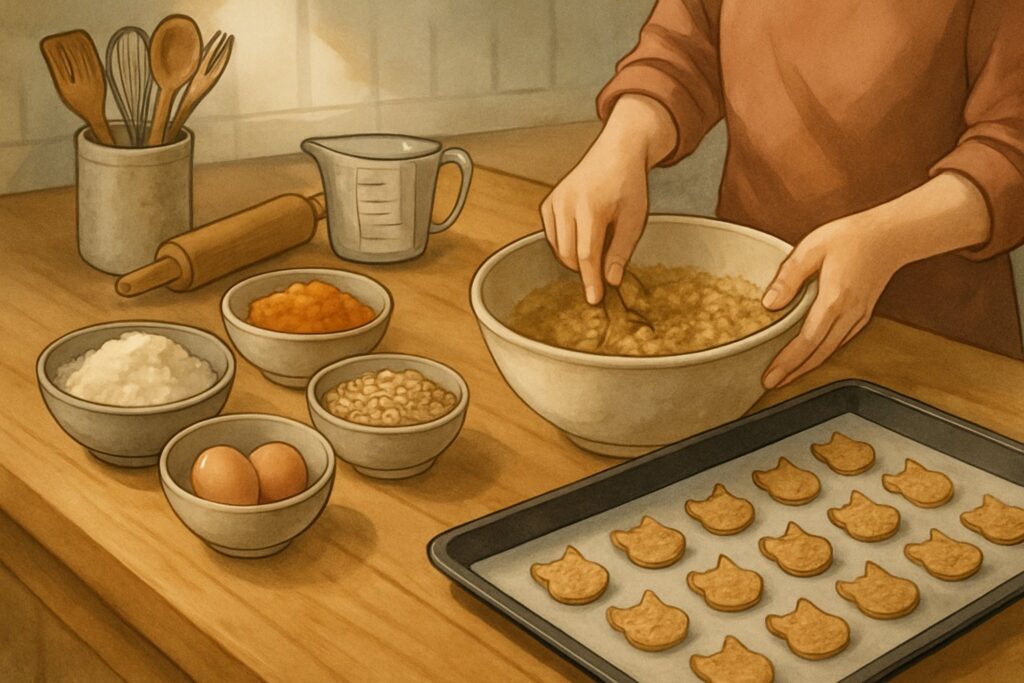
Table of Contents
Let’s be honest—store-bought treats are pricey, and half the time I can’t pronounce the ingredients. When I tried making my own cat treats, I was shocked at how easy it was.
My cats went wild for them. You know that look your cat gives you when they smell something amazing? That’s what I get every single time I pull a fresh batch from the oven.
These are my tried-and-tested recipes that made me the favorite human in my house. You’re about to pick up simple techniques that’ll have your cat purring for more.
I’ll also touch on the nutrition basics that keep our feline friends healthy and happy.
Key Takeaways
- Homemade cat treats give you total control over ingredients and usually save you money compared to store-bought options.
- Knowing basic feline nutrition is crucial before you make any homemade cat food or treat recipes.
- Good storage and gradual introduction help homemade treats stay fresh and make sure your cat actually likes them.
Why Choose Homemade Cat Treats?

Making your own cat treats lets you control every ingredient. You get to tailor snacks specifically to your cat’s tastes and needs.
There’s something special about seeing your cat’s eyes light up when those fresh treats come out of your kitchen.
Benefits Over Store-Bought Treats
Have you ever actually read the ingredient list on commercial cat treats? I was honestly a little horrified by all those weird chemicals and fillers.
Store-bought treats often contain:
- Artificial preservatives like BHA and BHT
- Mystery meat by-products
- Too much sodium and sugar
- Cheap grain fillers
When I make homemade cat treats, I know exactly what’s in every bite. I stick with real chicken, salmon, or tuna—stuff my cat actually wants.
The price difference is wild too. A bag of premium treats can set you back $8-12, but I can make triple the amount at home for just $3 worth of ingredients.
Many cats prefer moist foods, and it’s the same with treats. Your homemade cat treats recipe can use moisture-rich ingredients that cats naturally love.
Personalizing Snacks For Your Cat
Ever notice how your cat turns their nose up at certain flavors? Mine won’t touch anything with turkey, but salmon? She loses her mind.
With homemade cat treat recipes, I can customize for:
- Food allergies — I just skip the problem ingredients
- Age-specific needs — Softer treats for my senior girl
- Health conditions — Low-sodium for cats with kidney issues
- Flavor preferences — My cat’s obsession with chicken liver is real
That unimpressed look cats give when they’re not into their food? I honestly haven’t seen it since I started making treats just for her.
The best part about cat treat recipes is how flexible they are. Sensitive digestion? Use a single protein. Training a food-motivated cat? Make tiny, bite-sized treats.
Bonding Through Treat-Making
Here’s something I didn’t expect—my cat now follows me into the kitchen every single time I cook. She knows when I’m making her snacks.
It turns into a little ritual. I’m chopping chicken, she’s supervising from her perch. When those treats go in the dehydrator, she camps out and waits.
The bonding happens in small moments:
- She purrs while I prep ingredients
- Her excitement builds as the kitchen fills with good smells
- She gives me a happy head bump when she approves the final product
Making homemade cat treats becomes quality time together. It’s not just about the treats—it’s the anticipation, the little shared moments, and seeing her genuinely happy.
Your cat starts linking you to those amazing smells and flavors. That connection gets stronger every time you grab the mixing bowl.
Feline Nutrition Must-Knows Before You Start
Making your own homemade cat treats recipe means you need to understand your cat’s unique nutritional needs first. I’ll walk you through what cats actually need, which ingredients are safe or dangerous, and how much to serve without going overboard.
Understanding What Cats Really Need
Cats aren’t just tiny dogs. They’re obligate carnivores—they need meat to survive, period.
When I first started making treats, I learned cats need certain nutrients they can’t make themselves. Taurine is a big one. Without it, your cat’s heart and eyes can really suffer.
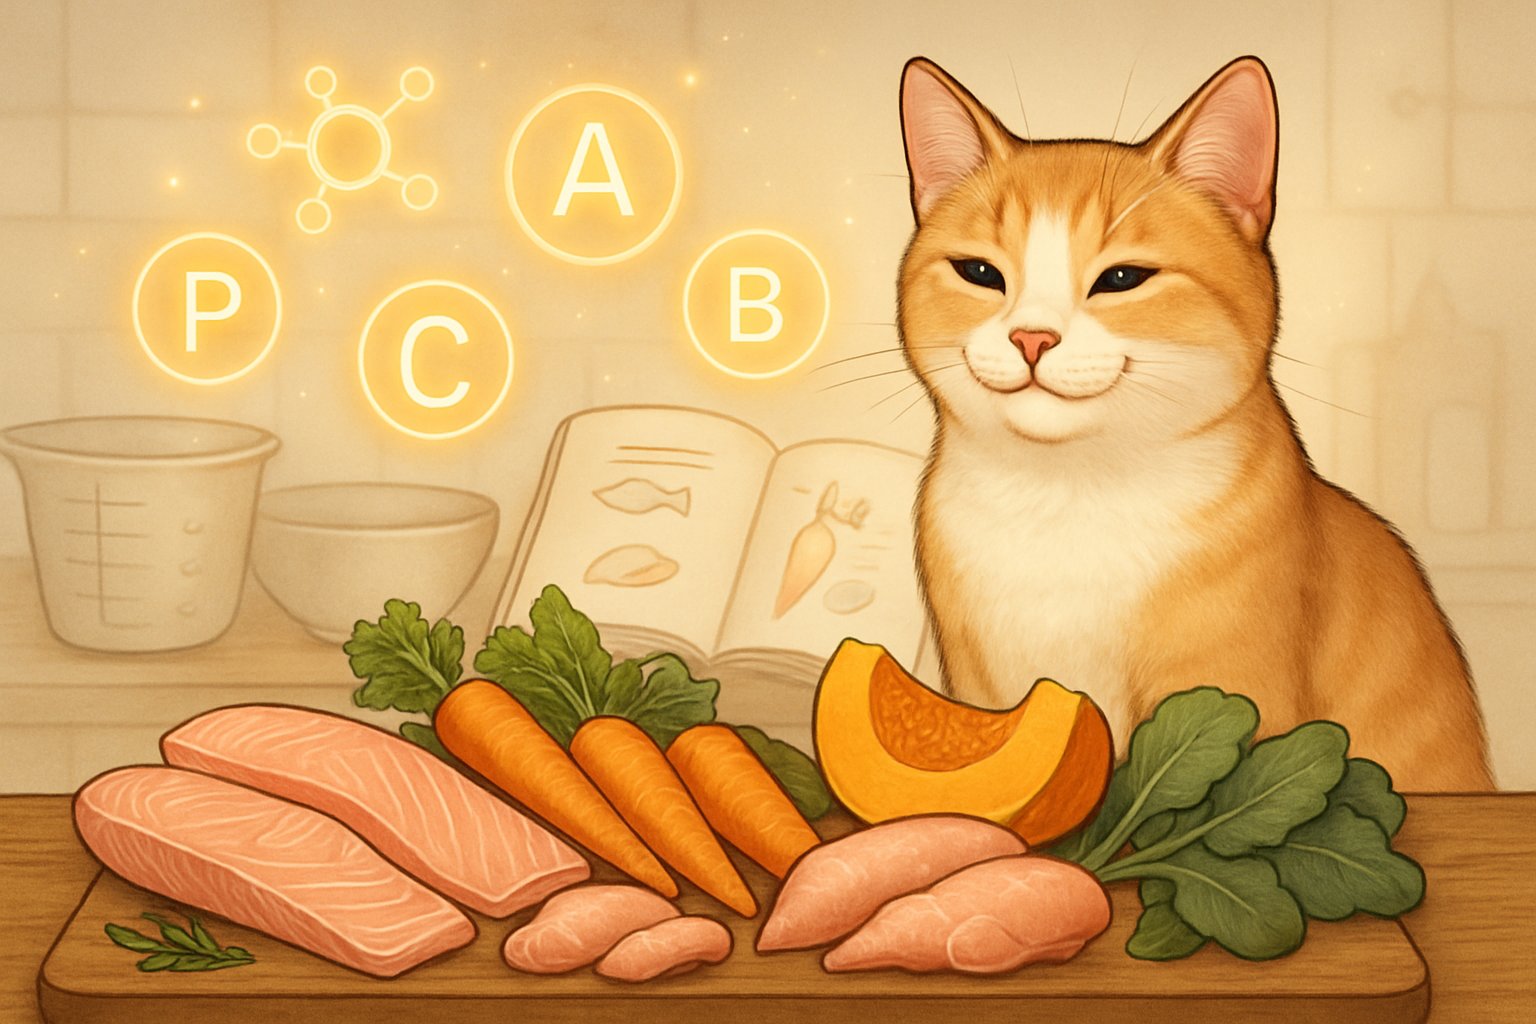
Here’s what your cat absolutely needs:
- Animal protein (at least 26% of their diet)
- Taurine for heart and vision health
- Arachidonic acid from animal fats
- Vitamin A in its pre-formed state
- Niacin (they can’t make it from tryptophan like we do)
Most homemade cat food recipes miss these essentials. That’s why I stick to protein-rich treats instead of full meals.
Your cat’s wild ancestors hunted mice, birds, and fish. Those prey animals gave them the perfect nutrient balance. I try to keep that natural diet in mind whenever I make treats.
Safe Ingredients And Hidden No-Gos
I’ve made some scary mistakes with ingredients. Onion powder almost landed my cat at the emergency vet once—never again.
Safe ingredients I swear by:
- Cooked chicken, turkey, or fish
- Plain cooked eggs
- Small amounts of cooked sweet potato
- Pumpkin (plain, not spiced)
- Catnip and cat grass
Absolute no-gos that surprised me:
| Ingredient | Why It’s Dangerous |
|---|---|
| Onions & garlic | Destroys red blood cells |
| Chocolate | Contains toxic theobromine |
| Grapes & raisins | Causes kidney failure |
| Raw eggs | Risk of salmonella |
| Dairy products | Most cats are lactose intolerant |
Just because something’s “natural” doesn’t mean it’s safe. My friend’s cat got sick from essential oils in a homemade treat—lesson learned.
Hidden dangers in common foods:
- Artificial sweeteners (especially xylitol)
- High sodium content
- Preservatives like BHA and BHT
- Raw dough with yeast
Always double-check labels. Some canned fish sneak in extra salt or oils that aren’t cat-friendly.
Serving Sizes And Moderation Tips
I messed up at first—I thought homemade meant I could give as many treats as I wanted. Nope.
My golden rule: Treats should never go over 10% of your cat’s daily calories. For a typical 10-pound cat, that’s just 20-30 calories from treats each day.
To put it in perspective, one small homemade chicken treat is about 5-8 calories. So that’s 3-4 treats, tops, per day.
Smart serving strategies I use:
- Break bigger treats into tiny pieces
- Use treats for training rewards
- Spread treat time out during the day
- Keep an eye on my cat’s weight every week
I keep a simple chart on the fridge to track treat portions. It stops me from overfeeding and helps me spot changes in my cat’s appetite.
Warning signs of too many treats:
- Refusing regular meals
- Weight gain
- Loose stools
- Begging more than usual
Start with half the recommended amount when trying any new homemade cat treats recipe. Some cats have sensitive stomachs and need a little time to adjust.
Even the healthiest homemade treats can cause problems if you go overboard. Your cat’s regular food should always be their main source of nutrition.
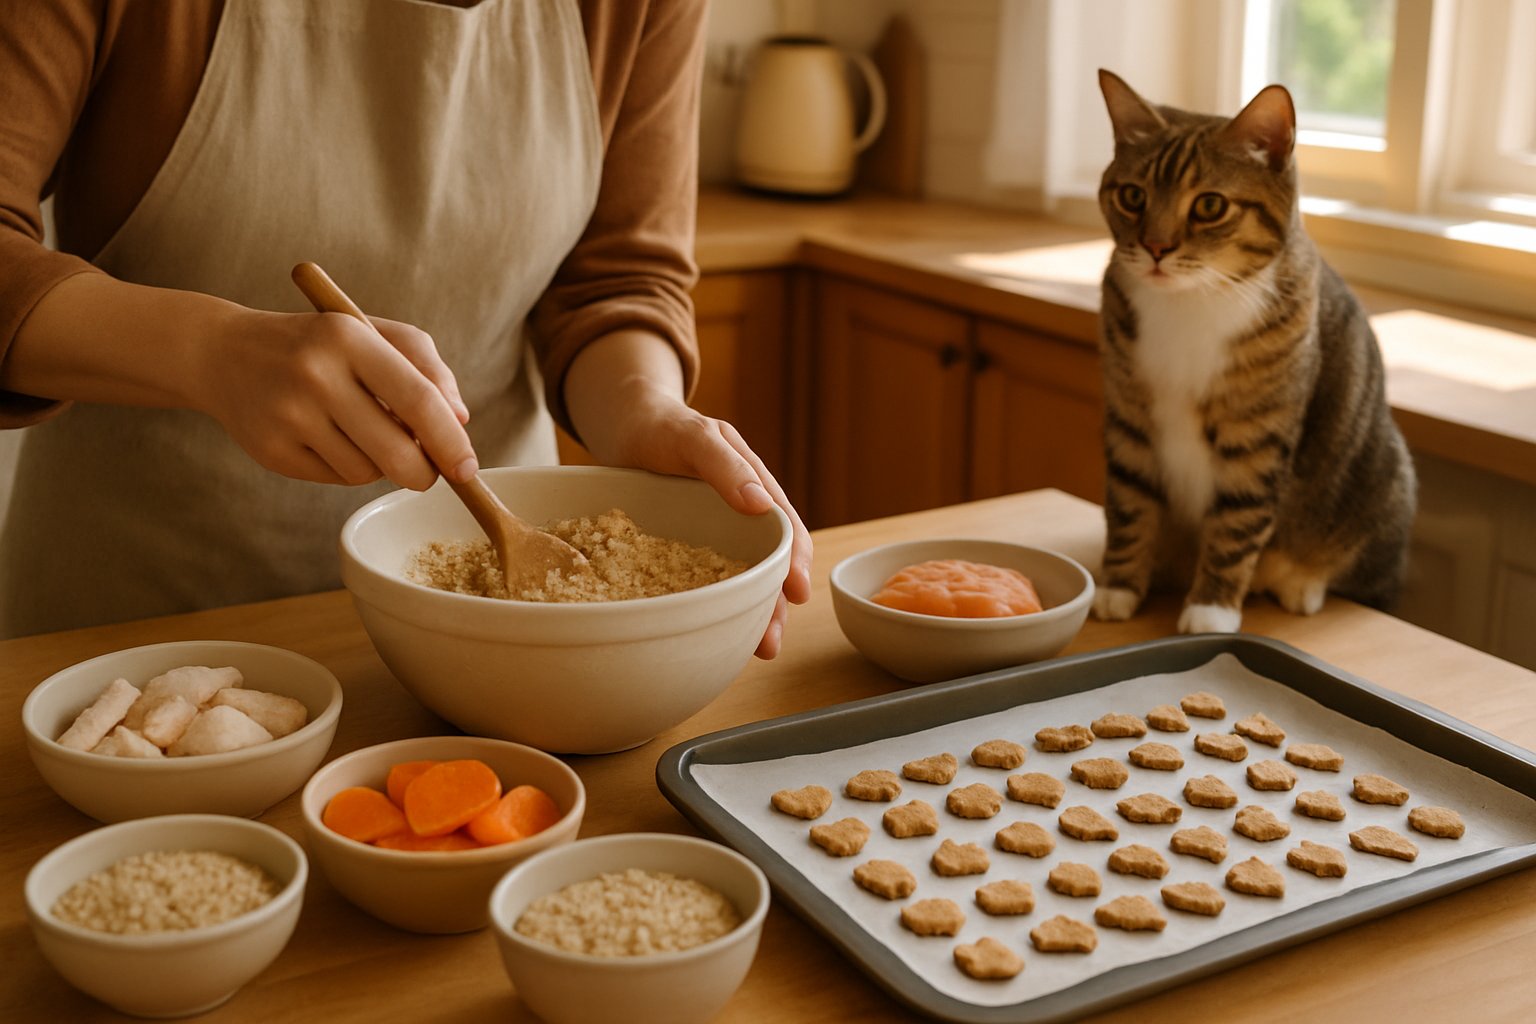
Your Ultimate Guide To Homemade Cat Treats Recipe Success
Making homemade cat treats doesn’t have to be complicated or take forever. I’ll show you some foolproof methods for chewy, savory, frozen, and crunchy treats that’ll have your cat purring in no time.
Easy Chewy Cat Treats Recipes Your Cat Will Love
Ever watched your cat chew on those store-bought treats and wondered what’s actually in them? Let’s be honest — making chewy cat treats at home means you know exactly what’s going in.
My go-to base is simple: 1/2 cup oat flour, 1 egg, and 2 tablespoons coconut oil. That combo gives you the chewy texture cats seem to love.
Here’s what works for me every time:
• Tuna and Sweet Potato: Mix 1/4 cup mashed sweet potato with 2 tablespoons tuna juice.
• Salmon and Pumpkin: Blend 3 tablespoons canned salmon with 2 tablespoons pumpkin puree.
• Chicken Broth Base: Use low-sodium broth instead of water for extra flavor.
Pro tip: Roll the dough to 1/4 inch thick. If you go thinner, they’ll get crispy instead of chewy.
Bake at 325°F for about 12-15 minutes. The treats should feel firm but still give a little when you press them.
Let them cool completely before serving — hot treats can burn your cat’s mouth.
I store homemade cat treats in an airtight container for up to a week. If I make a big batch, I freeze extras in small portions to keep them fresh.
Savory Chicken Cat Treats (And Simple Variations)
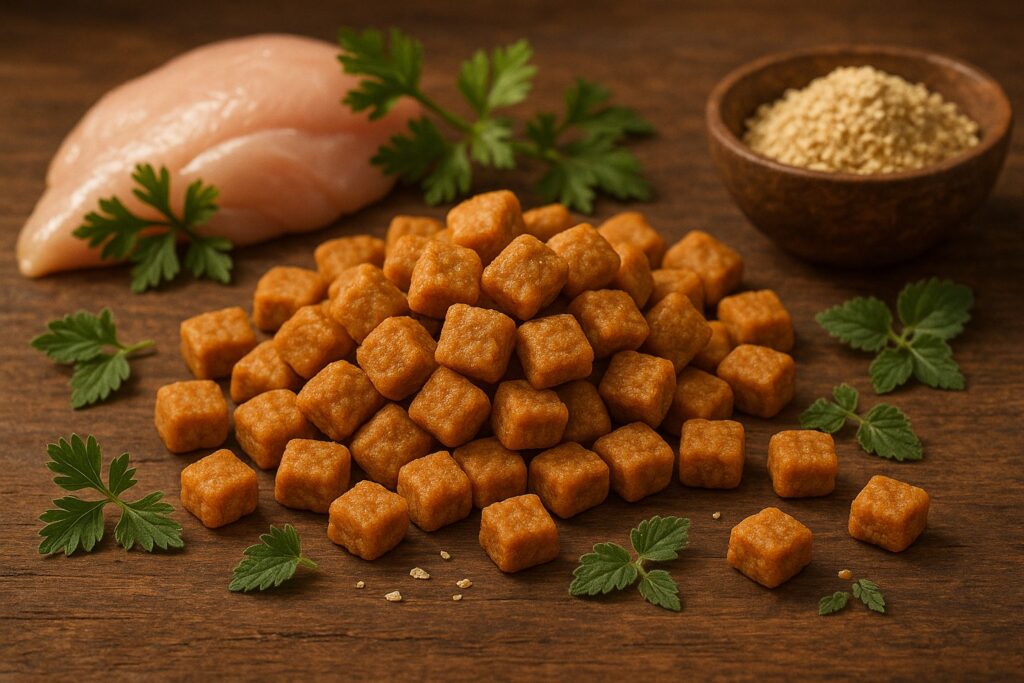
If your cat goes wild for chicken, you’re onto something. Chicken cat treats are probably the easiest homemade option, and they always seem to work.
My basic chicken recipe is just 1 cup cooked chicken (shredded), 1/2 cup rice flour, and 1 egg. That’s all you need.
Cook the chicken thoroughly. I usually boil boneless pieces for 15 minutes. Never use raw chicken or add any seasoning that could hurt your cat.
Three variations I love:
| Variation | Add This | Why Cats Love It |
|---|---|---|
| Chicken & Catnip | 1 tsp dried catnip | Natural euphoria trigger |
| Chicken & Liver | 2 tbsp cooked liver | Rich, meaty flavor |
| Chicken & Cheese | 2 tbsp plain cream cheese | Creamy texture boost |
Mix everything until you can shape small balls. Press them flat on parchment paper.
Bake at 350°F for 10-12 minutes. They should look golden but not dried out.
Chicken treats are naturally high in protein and match the digestive systems of cats pretty well.
No-Bake Or Frozen Cat Snacks For Hot Days
Summer heat got your cat panting? Frozen treats are a total lifesaver when it’s sweltering and even my pickiest cat wants something cool.
Frozen Tuna Pops are my favorite for hot days. Mix 1/4 cup tuna juice with 2 tablespoons plain yogurt. Pour into ice cube trays and freeze for 2 hours.
No-bake options keep things quick and your kitchen cool:
• Salmon Balls: Mash 1/4 cup canned salmon with 2 tablespoons cream cheese. Roll into marble-sized balls.
• Chicken Powder Bites: Mix 3 tablespoons chicken baby food with 1 tablespoon coconut flour until you can shape them.
Here’s the kicker — frozen treats shouldn’t be rock-hard. Let them sit out for 2-3 minutes before serving so your cat can actually bite them.
Safety note: Never use artificial sweeteners, chocolate, or grapes in frozen treats. Stick to cat-safe stuff only.
I make these in small batches with silicone molds. Fun shapes are cute, but honestly, cats don’t care about how they look.
Frozen treats last up to a month. I label containers with dates so I know when to toss the old ones.
How To Make Crunchy And Soft Treats
That satisfying crunch cats love comes down to three things: thickness, temperature, and timing. I’ve played with both textures using almost the same ingredients.
For crunchy homemade cat treats:
- Roll dough to 1/8 inch thick
- Bake at 375°F for 15-18 minutes
- Cool on wire racks until totally crisp
For soft treats:
- Keep dough at 1/4 inch thick
- Bake at 325°F for 10-12 minutes
- Store in airtight containers while they’re still a bit warm
My texture-testing trick: Press gently with your finger after cooling. Crunchy treats won’t give at all. Soft treats will bounce back a bit.
Base recipe for both textures:
- 1 cup whole wheat flour
- 1/2 cup protein (chicken, tuna, salmon)
- 1 egg
- 2-3 tablespoons water or broth
Protein choice makes a difference. Fish usually creates softer treats, while chicken gives you crunchier ones.
Storage matters: Crunchy treats last longer, but soft treats are easier for older cats. I like making both and switch it up depending on my cat’s mood or dental health.
How To Store, Serve, And Switch Up Cat Treat Recipes

Making homemade cat treats is just the start — keeping them fresh is a whole other story. I learned the hard way that creative serving can turn treat time into a fun training session with your cat.
Storing Homemade Cat Treats Safely
I’ve left fresh cat treats on the counter and found moldy disasters a week later. Your homemade treats don’t have preservatives, so smart storage is a must.
Room temperature treats last about 3-5 days in airtight containers. Glass jars or sealed plastic containers work — anything that keeps air out.
For longer storage, freeze them. Most cat treats freeze well for up to 3 months. I portion them into small freezer bags for weekly use.
Here’s my storage system:
- Dry treats: Glass jars at room temp (1 week max)
- Soft treats: Refrigerate up to 5 days
- Wet treats: Freeze right away in small portions
- Dehydrated treats: Airtight containers (2 weeks)
Always check for weird smells or texture. If in doubt, toss it out — your cat’s health comes first.
Let treats cool completely before storing. Home cooking needs enough storage space, so plan ahead to avoid waste.
Introducing New Treats And Spotting Allergies
You know that suspicious look your cat gives new food? There’s a reason for it. I always start with tiny portions — half a treat — when trying new homemade cat treats.
Day 1-2: Offer a small piece next to their regular treats. Watch for any stomach issues or weird behavior.
Day 3-4: If all seems fine, give a whole treat. I keep an eye on their litter box (yeah, the glamorous side of cat ownership).
Week 1: Slowly increase portions if there are no problems.
Cats might refuse foods with new textures, so patience really matters. Some cats need weeks to accept new treats.
Red flags to watch for:
- Vomiting or diarrhea
- Excessive scratching
- Lethargy or loss of appetite
- Swollen face or paws
If you spot any of these, stop the new treats right away. I keep a treat diary with ingredients and my cat’s reactions — it helps figure out what doesn’t agree with them.
Creative Ways To Treat (And Train) With Snacks
This is where homemade cat treats really shine — you get to control the size, texture, and flavors for training.
I break bigger treats into training-sized bits — about the size of your pinky nail. That way, I don’t overfeed during long practice sessions.
Puzzle feeders make treat time more interesting. I stuff soft treats into Kong toys or hide bits around the house for hunting games.
For training, I use the high-value treat method:
- Regular treats for easy commands
- Special homemade treats for tougher behaviors
- Super special flavors (like freeze-dried chicken) for big breakthroughs
Mix up the textures:
- Crunchy treats for teeth
- Soft treats for easy eating
- Frozen treats for hot days
- Dehydrated treats for long-lasting chews
Try hiding treats in random spots. My cat learned to “search” on command, which makes treat time a fun mental workout.
The best part of homemade treats is you can customize everything. Change up recipes for your cat’s taste or health needs.
Frequently Asked Questions
Making homemade cat treats can feel overwhelming if you’re not sure what’s safe or good for your cat. These common questions should help you make treats that are both tasty and nutritionally sound.
You’ve spotted your kitty eyeing your lunch, right? So what are the absolute no-gos in a DIY cat treat recipe?
Some ingredients are seriously dangerous for cats. Onions and garlic top my never-use list — they can damage your cat’s red blood cells.
Chocolate is another huge no. Even a small amount can cause heart problems and seizures.
Grapes and raisins seem harmless, but they can cause kidney failure. I also skip anything with xylitol (artificial sweetener) — it’s toxic for cats.
Dairy products usually upset most adult cats’ stomachs. They lose the ability to digest lactose as they get older.
Let’s be real, tuna’s a cat crowd-pleaser. But how can you turn it into a healthy homemade treat?
Tuna works well in a homemade cat treats recipe, but you have to use it sparingly. I stick with canned tuna in water (never oil or brine) and always drain it completely.
My usual tuna treat is simple. I mix one can of drained tuna with one beaten egg and two tablespoons of oat flour.
Roll the mixture into little balls. Bake them at 350°F for about 12-15 minutes.
Limit tuna treats to once or twice a week. Too much tuna can cause mercury buildup or throw off your cat’s nutrition.
I never let tuna be the whole treat. I like to mix it with cooked chicken or pumpkin for a better balance.
Ever pondered if that no-bake cat treat recipe is actually vet-approved? Here’s what to look for.
No two no-bake recipes are the same. I always check that protein is the main ingredient—think cooked chicken, fish, or turkey.
The safest no-bake homemade cat treats recipe skips raw eggs and raw meat. Cooking kills off bacteria that could harm your cat.
Veterinarians recommend proper formulation for homemade pet food. I only use cooked ingredients and cat-safe binders like mashed sweet potato.
If a recipe has lots of carbs or fillers, I skip it. Cats are built for protein, so treats should match that.
Think your furball’s stomach is a tad sensitive? What’s the trick to making treats that won’t upset it?
Sensitive stomachs make things tricky with any homemade cat treats recipe. I start with single-ingredient treats to see what my cat tolerates.
Cooked chicken breast (no seasoning) is usually the safest. I puree it with just a splash of water and freeze it in ice cube trays for easy treats.
Plain pumpkin (not pie filling) calms upset stomachs and adds fiber. Mixing it with chicken gives a gentle treat I trust.
I stay away from high-fat ingredients and anything artificial. Treats should be tiny—no bigger than a piece of kibble.
You know that look your cat gives you when you crack open a peanut butter jar? Is it safe to use in homemade cat snacks?
Honestly, peanut butter isn’t great for cats. Most can’t digest it, and it’s packed with fat they don’t need.
Some peanut butters have xylitol, which is toxic to cats. Even the xylitol-free stuff is just too fatty and calorie-heavy.
If your cat seems curious about nutty flavors, you could try a tiny bit of sunflower seed butter instead. But really, cats do better with meat-based treats.
Your homemade cat treats recipe should stick to what cats naturally crave—protein from fish, chicken, or turkey.
Curious about how to whip up the best cat treats right in your kitchen? What do the top-rated recipes have in common?
The best homemade cat treats recipe options usually share three things: simple ingredients, high protein content, and proper cooking methods.
Top recipes use real meat or fish as the main ingredient. I’ve noticed that cooked chicken, salmon, or turkey make the best base.
Most of the time, you only need 3-5 ingredients total. Something like cooked chicken, egg, and oat flour—honestly, that’s often enough.
The cooking method plays a big role, too. I like to bake small treats at 350°F for about 10-15 minutes, just until they’re firm.
Proper storage really matters. I stash homemade treats in the fridge for up to a week, or if I make a big batch, I just freeze them.


Leave a Reply
You must be logged in to post a comment.